How to achieve micron tilt adjustment with the Baader FCCT, UFC and M68 Tilter
The FFCT (made for RASA 8) UFC and M68 tilters provide a solution to very easily and quickly alter tilt in an imaging system. To understand how to correctly adjust the tilter, please see the following FAQ.
Q. How do I adjust tilt and achieve micron adjustment with the FCCT, the UFC and M68 Tilter?
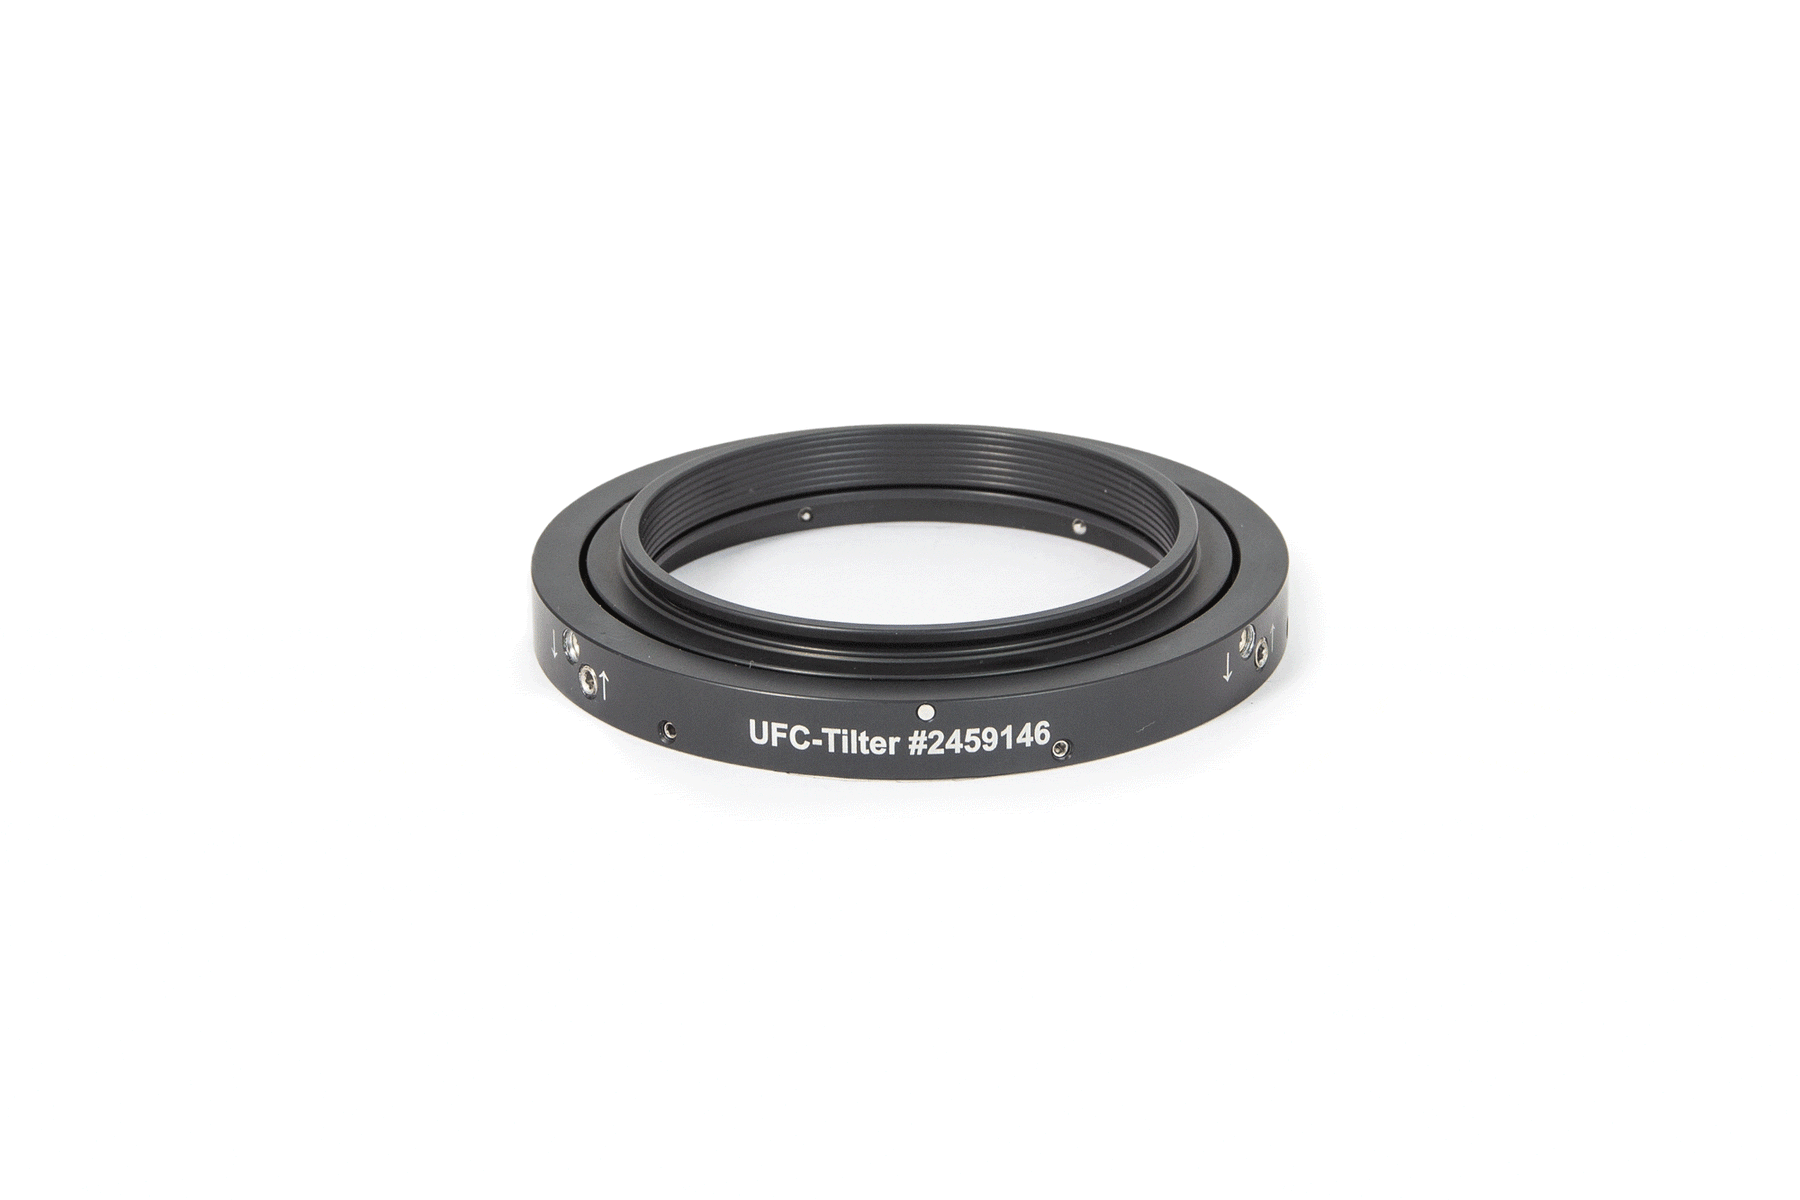
A. Each tilter essentially consists of 3 pairs of opposing set screws which independently move the inner tilt mechanics and are easily accessed from the side using the included hex key (Allen wrench). These screws have tapered and hardened points that bear against a precision hardened ‘zero-clearance’ steel-counterpart. The direction that each set screw moves the tilter is shown with an etched arrow next to the individual screw. On the FCCT the extra-long hex-key with handle also serves as torque-control against overtightening. As soon as the handle starts to rotate (to "flex") without continuing to turning the screw then the maximum torque allowed is reached and instead of continuing to increase pressure on that screw, the other screw in that pair first must be unlocked by a very small amount.
CAUTION: Never tighten a screw all too firmly, only light to medium tension is required to hold the tilter with zero play. Tightening the screws too hard could cause damage to the hardened screw tips.
Procedure:
- Check each set screw to make sure it is lightly tightened down (seated). The screws only need to bear against the internal mechanism with light pressure.
- To move the tilter in a particular direction, first loosen the opposite direction screw a very small amount, then lightly tighten the screw that moves the tilter in the direction you want it to go. Only very small adjustments are needed to square the mechanical axis, so only move the screws a small amount.
- Final small tweaks may be made by very slightly increasing the pressure of just a single screw, or very slightly decreasing the pressure of the opposing screw.
Tips:
- It is recommend that you start with the tilter set at its nominal position with both parts flush. The tilt allowed is approx 0.4 mm to either side.
- The amount of loosening and tightening controls the amount of tilt movement. Always put the image center into perfect focus first and then work out the edges.
- A simple way to check if overtightening occurs is to closely inspect each single image frame taken during the adjustment procedure to see if some upper or lower-side movement (that is: lateral movement) is visible when trying to move one screw in the system to adjust for more angular tilt. Even slightest lateral movement would indicate that at least one of the three pairs of screws is severely overtightened, as each tilter-system is mechanically matched to zero-play.
- In case lateral movement is visible at all in the image frame, then loosen the opposing screw by the same amount and it will cause a tilt action immediately. You will need some time to "get the right feel" just how finely each these three pairs of screws work as a team, to increase pressure and reduce pressure in order to do the adjustment in very minute increments. In this way, micron movements are possible.
- The FCCT is designed to carry up to 2 Kg of camera equipment, the larger M68 and UFC-tilter can take up to 5 Kg of camera total weight.
- The tilter should be positioned close to the camera, to reduce additional loads from having the camera cantilevered far from the tilter.
Products
- Baader FCCT (Coming soon)
- Baader UFC Tilter
- BaaderM68 Tilter

Leave a comment